Monday, July 8, 2013

Off to Paris

On Wednesday, I leave for 2 weeks in Paris. I have been planning this trip for over a year and I am extremely excited (an understatement).  I am traveling with my sister and my BFF so I know we will have a great time.  We are bringing art supplies, but have tried to keep things to a minimum.  My BFF kept her supplies confined to a cigar box, with just a few items flowing over (paper, brushes, etc.)  I decided to just carry items separately, but I did have to quickly sew a zippered pouch.  I used some painted canvas that I had lying around (thank you, Alyssa Burke, for the inspiration).

Here are the items that I am packing.

I am bringing pens and pencils, of course.  I just bought a pack of Faber-Castell Pitt pens (brush tip) in 6 different colors. I also bought a brown fine tip because I seem to always "wish" I had a good brown pen.  Elmer's Extreme is my favorite glue, so that is coming on the trip.  The brushes are coming because I am bringing a tiny bit of gesso and matte medium as well as . . .


. . . watercolors.  I have a travel watercolor kit made by Koi which has never actually travelled with me before.  I am also taking colored (watercolor) pencils.  I mustn't forget to pack the pencil sharpener.

As well as bits of watercolor paper, I am bringing index cards to continue my ICAD participation.  In a creative burst, I decided to make my own index card holder.  I used an old calendar and it turned out beautifully.  So beautiful, in fact, that I couldn't bear to have it smashed in my luggage, so I bought a plastic one for a dollar at Target (the black and white one).


Hopefully I have all the necessities. I am sure we will visit an art store in Paris where I will buy something wonderful to bring home. And I hope to create a proper art journal to document the entire trip.

See you in August. Au revoir.
-christina

Thursday, July 4, 2013

ICAD Again

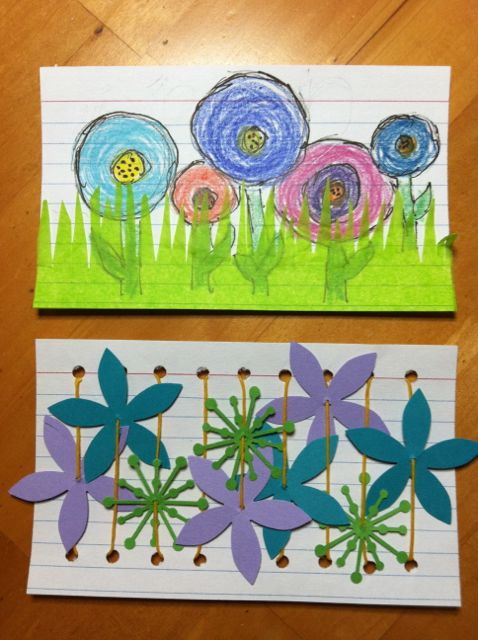
I am once again participating in ICAD (Index Card a Day) along with Tammy at Daisy Yellow.  It is going on all summer long - 61 days.  I know that I will not produce 61 index cards, but I enjoy the challenge of making 1 piece every day.  Here are some of my cards so far.
Zentangle and a slight clothing obsession

All things flowers

Mannequin (yes, I am still playing with that shape)
and an "homage" to Daisy Yellow
You can join the ICAD group at any time or you can just visit Tammy's website to view her work) as well as a Flickr group).  What will you create today?

-christina

Saturday, June 29, 2013

What's Your Favorite Color?

I love blue.  Lots (but not all) shades of blue.  Right now I think my favorite is a turquoise shade, maybe closer to an ocean blue.  I use it in my art often and I sometimes feel like I have run out of interesting colors to use with it.

Well, I just found this website called Color Scheme Designer.  It allows you to select a primary color and then see other color combinations that complement the primary color.  Here is an example.


My BFF's favorite color is lime green.


Click on the color wheel to choose your primary color.  Then use the small circles above it to see all the different color schemes.  Does this look like hours of fun, or what?

-christina

Wednesday, June 26, 2013

Making Fabric Paper

My friend and I decided to make fabric paper together.  We used a technique I learned from a video by mixed media artist, Beryl Taylor.  The supplies include muslin, glue, paint, brushes, and art tissue paper (not to be confused with regular tissue paper).
muslin, wrapping paper, scrapbook paper,
paper napkin, glue, and scissors

Lay out a piece of muslin (no bigger than a pillow case) and paint it with a coating of watered down glue.  Elmers glue works fine for this process.  I usually do this messy project on top of a sheet of plastic wrap or a dry cleaning bag.  You will have to move the whole piece in the end, when is it still wet, so make sure your plastic is portable.

After the muslin is coated with glue, lay out your paper pieces. I like to cover as much of the muslin as possible, but don't worry if there are small spaces. For this project I have used wrapping paper, scrapbook paper, telephone books, dictionaries, paper napkins, and candy wrappers.  The colors of your papers don't have to go together perfectly because you will be adding color later.  Cover all the papers with another coating of the watered down glue.

glue the paper pieces to the
glue covered muslin


telephone book pages work as well

The final layer is the art tissue paper.  Regular tissue paper doesn't work for this project because it is thin and easily rips.  Art tissue paper can be hard to find.  I ordered mine through Blicks.

Cover the entire piece with the tissue paper.  Next you will use watered down acrylic paints.  Fluid acrylics work really well for this project because you want the color to be transparent.  Cover the whole piece with the watery paint.  It's OK to let the colors blend and flow together.  If you overwork the piece at this point the tissue paper will start to tear so be somewhat delicate.  Don't worry if you have some bubbles under the tissue.  Those are inevitable.
cover the piece with art tissue paper
and paint on top of that

Let the piece sit in the sun to dry.  It will probably be overnight before it is all dry.
if possible, put the piece
in the sun to dry

The final product is fabric paper that is somewhat stiff and brightly colored.  It can be used for all kinds of mixed media projects.  My friend and I are going to make big paper flowers.  I will post a picture when they are done.

-christina

Wednesday, June 12, 2013

Bead & Button

I just returned from the Bead and Button Show in Milwaukee, Wisconsin.  It's the fifth year I have attended (or maybe the sixth).  I was going to skip it this year, but my BFF flew in from Florida and I couldn't miss the opportunity to hang out with her.  As usual, the exhibit hall was filled with beautiful baubles that were hard to resist.

Here is the Beadin' Path booth (a vendor from Portland, Maine).


I bought some beautiful lampwork beads from artist Marcia Kmack of Cave Creek Glassworks.
Then there was the My Elements booth.  Oh my goodness, I can't resist these little rubber components. The items may not look like much in the Etsy store, but here are some inspiring samples from the booth.


Finally, there were some amazing pieces on display as part of the Bead Dreams contest.  Here are 2 of my favorites.
A corset made of coins!

A 365 project - embellished Carmex jars!
The creativity of the vendors (booths, displays, packaging), artists, and contestants was so exciting and invigorating.  I am back at home now pulling out my tools, beads, and components to see what I can make.

-christina


Friday, May 31, 2013

Shrinky Dinks, Part 1

I have been wanting to make Shrinky Dinks and then, last week, fate stepped in.  My friend, the art teacher at the junior high, bought a craft oven.  She is planning to make Shrinky Dinks with her students next year and she wanted to do some testing.  I jumped at the opportunity to experiment!

I used frosted plastic sheets and drew on the frosted side.  I tried Pitt pens as well as colored pencils with stamps.  Here are the sheets before baking.


The pieces were baked in the craft oven for 20 minutes where they shrink to one-third of their original size.  I was so excited to see the results and here they are.

The color pencils turned out so vibrant, which I am really happy about.  I decided that I like the clear side better than the frosted side, which means that the writing is all backwards.  I still think those pieces look good though. I plan to wire wrap the small written pieces into some sort of jewelry.  The rectangular, colorful pieces will be links in a bracelet (I hope).

My friend has let me keep her craft oven over the summer while the school is closed.  I will be in Shrinky Dink making heaven.  As part of my next test I plan to use tracing paper to attempt backwards writing.  I also want to use markers to see how the color compares to colored pencils.  So many experiments to try!

-christina